After a few weeks in Bellingham, I caught a flight with a view of the Annular Eclipse, on October 14. I knew it would be hot when I got here, but whoa, its hot. So I took two days to get things organized and got out of the marina. Last spring I ordered new sails, and they arrived, so I put them on, and this is the picture of the result! A nice looking mainsail, and a good looking jib. I do notice that they are not as fast as the previous sails, however, but they seem to be very durable, and that is more important to me right now.
So I spent a few weeks getting accustomed to the weather and hiding from hurricanes and then I had my haul-out date on October 27. Its hard to get a haul out here, and especially for me, because of the deepness of the keel, so I had scheduled this one way back in April.
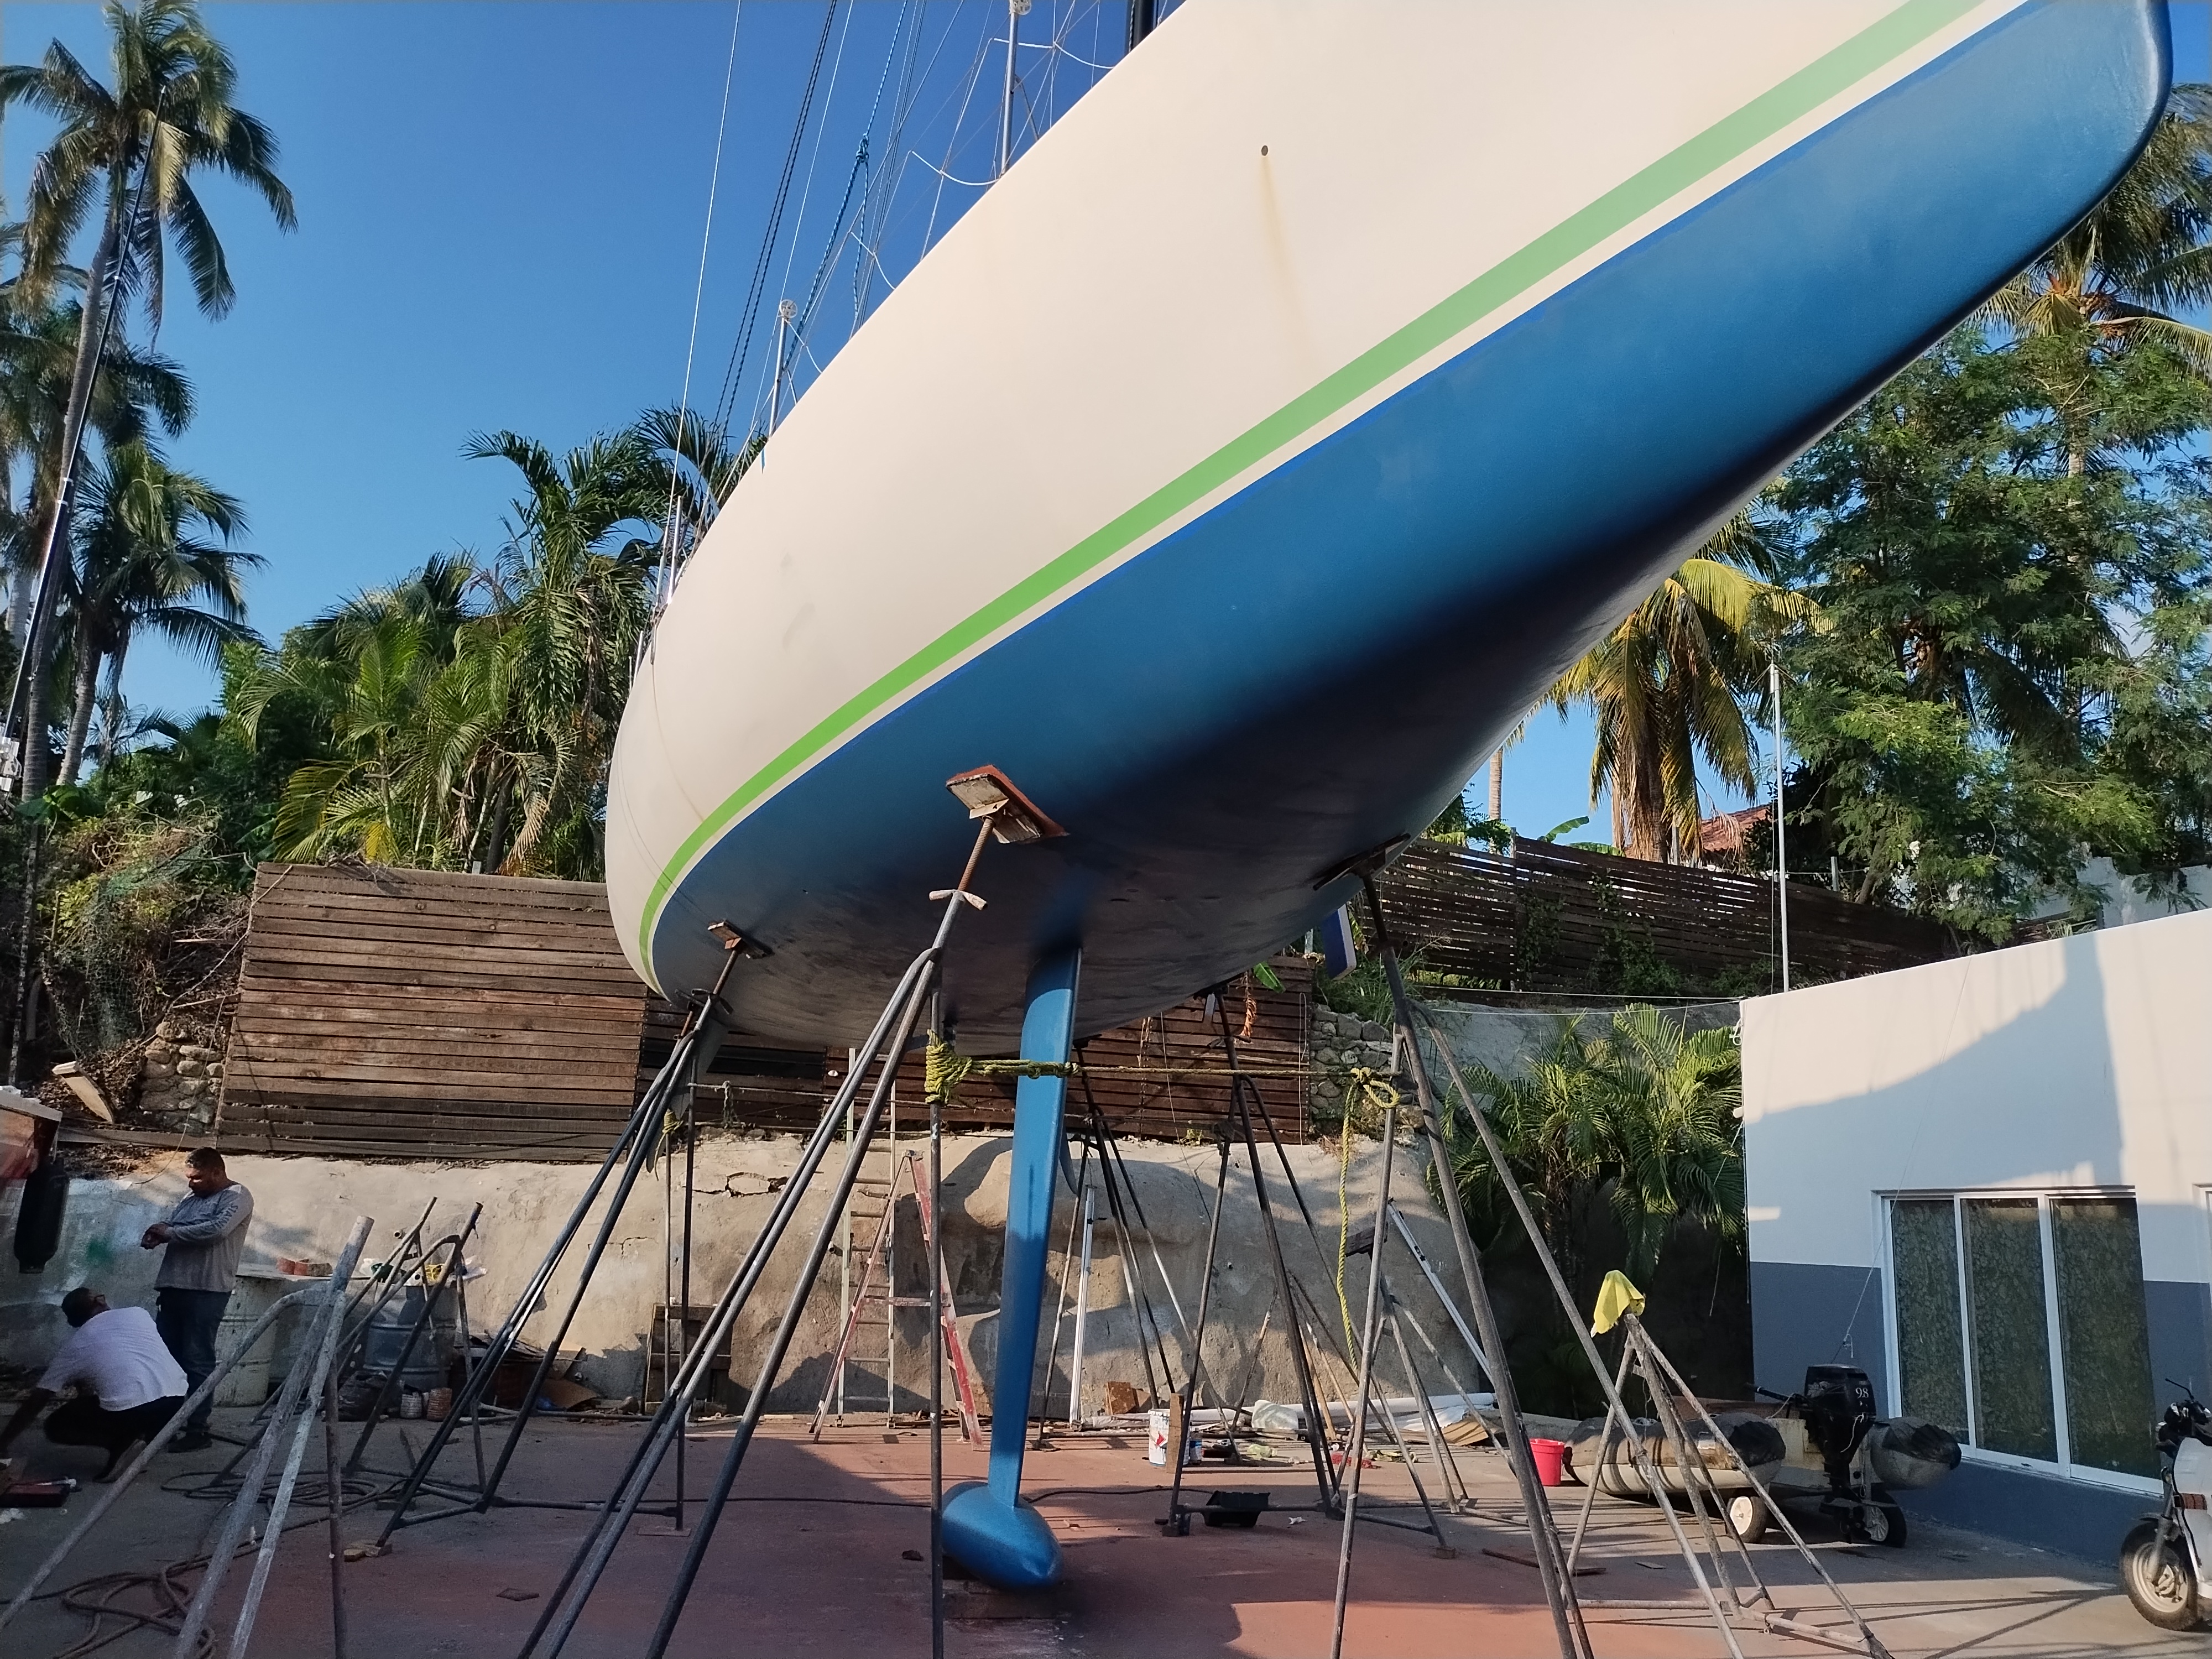
There was some damage to be repaired, as last spring, when I went out to Socorro Island, I had hit a rock. The front of the keel was damaged, so I got to work on that.
Its always impressive how deep this keel is...
So first thing was to get the area dried out. I started with tearing the foam away
And then ended up cutting a lot of it off
Here you can see where I cut
And then I cut another even bigger section. I ended up cutting about 16 inches of foam off the front of the keel. It sort of makes sense for this, I guess. The boat has a pointy nose and a wide stern, so make it heavier in the back to lift the nose up, and the center of the "fin" part of the keel might need to be forward in order to provide the right amount of lift.
But I think there was another reason, not just for hydrodynamic purposes. I think the people at Structures Shipyard (where Pogos are made) figured that people would hit things. And so they put a crash zone in the front for that. And they were right.
So I cleaned up the front, and got almost all the foam out of that area, and let it dry for two days. I also used a grinder and got the fiberglass exposed all around. You can see the lead in this picture up in the upper left. That puzzled me a bit. The lead is not in a perfect flat shape across the front! So I guess that they made a mold for the whole keel, built the fiberglass in that mold, poured foam into that, (and I found some of the fiberglass that looked like it had fallen off the edges while the foam was being poured, so there was a "hanging" piece of fiberglass cloth surrounded by foam. Then I think they poured the lead into that chamber. That explains the hot cracks you can see in the upper photo.
Anyways, the foam was removed and now I had to make a new crash zone.
I started with some cardboard and tape to make a mold
Here you can see into it a bit. Its just curved triangles that are put together
I tested it on the front of the keel to see for shape
Then I poured foam into it and let it cure
Testing it again
Then I prepared to affix it to the keel. I needed to glue it in place, but I also used two stainless pins that I drilled into the lead and the foam to give it strength.
After sanding, I had a reasonable shape. I used a grinder, so it was a bit too aggressive, but I didn't have the time, the protective clothes, or the bendyness to get in and make it perfect.
Another view
Then I set out to glue it on. I used some fairing compound to make the resin move slower, and stuffed old fiberglass in the joint to try and fill it up.
Then I forgot to take pictures, because my hands were dirty and sticky, but I put a three thick layers of fiberglass on it and then wrapped it up in plastic to give it some pressure and keep it kind of the right shape
The next morning...
I did some sanding and tried to get most of the voids out. I confess, the glass work was really not beautiful. I should have used a vacuum pump to make it better, but I didn't have that stuff. Its strong enough to hold on, and for me to stand on it, which is all that really matters. The structure is all behind it and above it.
Another view
So then I began fairing the shape out more. I spent all day working on this. I got it pretty good, but not perfect of course. Here is the first coat before sanding...
And I was so involved I forgot to take pictures, so here it is after painting....
In addition, I also put on my Watt and Sea Hydrogenerator. I made two little feet for each side, so I can just put a pin in to keep it hanging on the side. I tested it out on my first sail after getting back in the water and it seems to work out just fine, but I wasn't going that fast. I made about 6 amps in 6.3 knots of speed. With the middle sized propeller. I have a smaller propeller that can go faster, and I hope to test it out at higher speeds to see if I can get 15 amps.

So then I painted the whole boat with a new color. Bottom paint is very expensive, so when a friend told me about someone who had 3 gallons of bottom paint (in a 5 gallon bucket that was open) for sail for cheap, I jumped on it, even though its a different color. I got the PPG ABC3 ablative bottom paint, and I hope it works out well. I was able to put 3 coats on almost everywhere and 4 on the rudders and keel.
Then they brought the travel lift over and lifted me up so I could get the bottom of the keel and the other places that were hard to work on or obscured. So I had an afternoon to do that
And then it was back in the water for me!
So after getting back in the water I dove and inspected, and discovered that the straps rubbed the bottom paint a bit, like they always do. I don't know how to fix this, because I think it relates to the straps stretching, and thats not going to change. Sometimes they put plastic down in front of the straps, but I think that can sometimes make it worse. So I will just have to live with it. My next projects are to make a better shade structure and to upgrade my batteries. And possibly to get a new running downwind spinnaker.
But I am excited to do a few bigger trips this winter. Maybe Socorro again, and over to La Paz in January to work.